Send & Receive
Sending and receiving are two of the most important flows in the desktop application. Both go through your hardware device — you always verify the recipient address or the incoming address on the KeepKey screen itself.
Receive
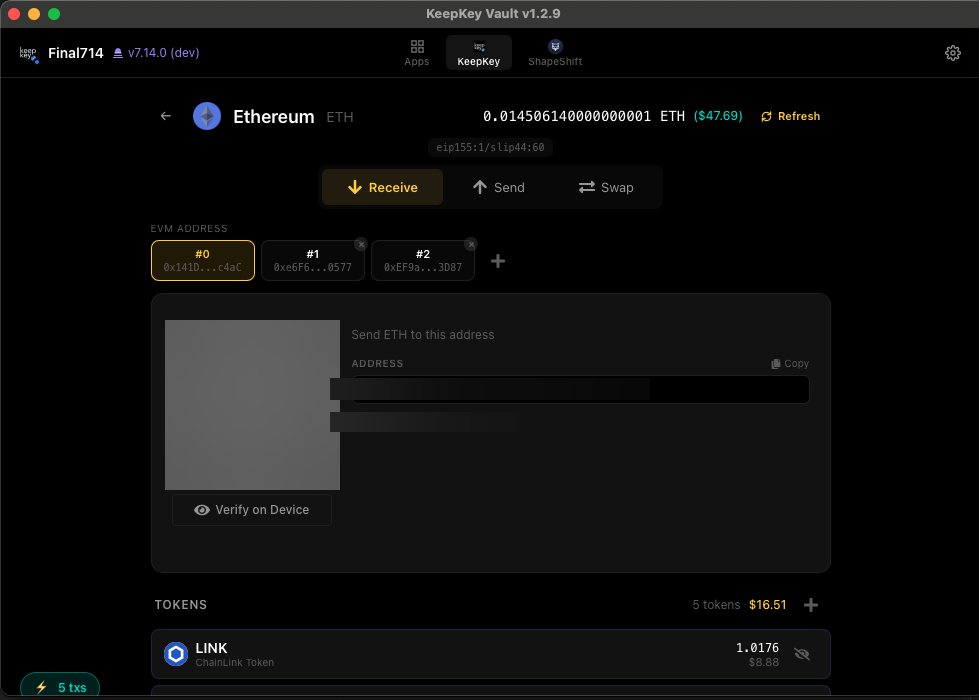
To receive funds, click Receive on any asset card. The desktop application generates a fresh receive address and shows it on the device screen for verification.
For Bitcoin, you can receive to Legacy, SegWit, or Native SegWit addresses. The receive panel shows the address, QR code, extended public key (xpub), and the derivation path. If you’re not sure which to use, pick Native SegWit (bc1q…) — lowest fees, near-universal support. See Bitcoin Address Types for why there are several and why they hold separate balances.
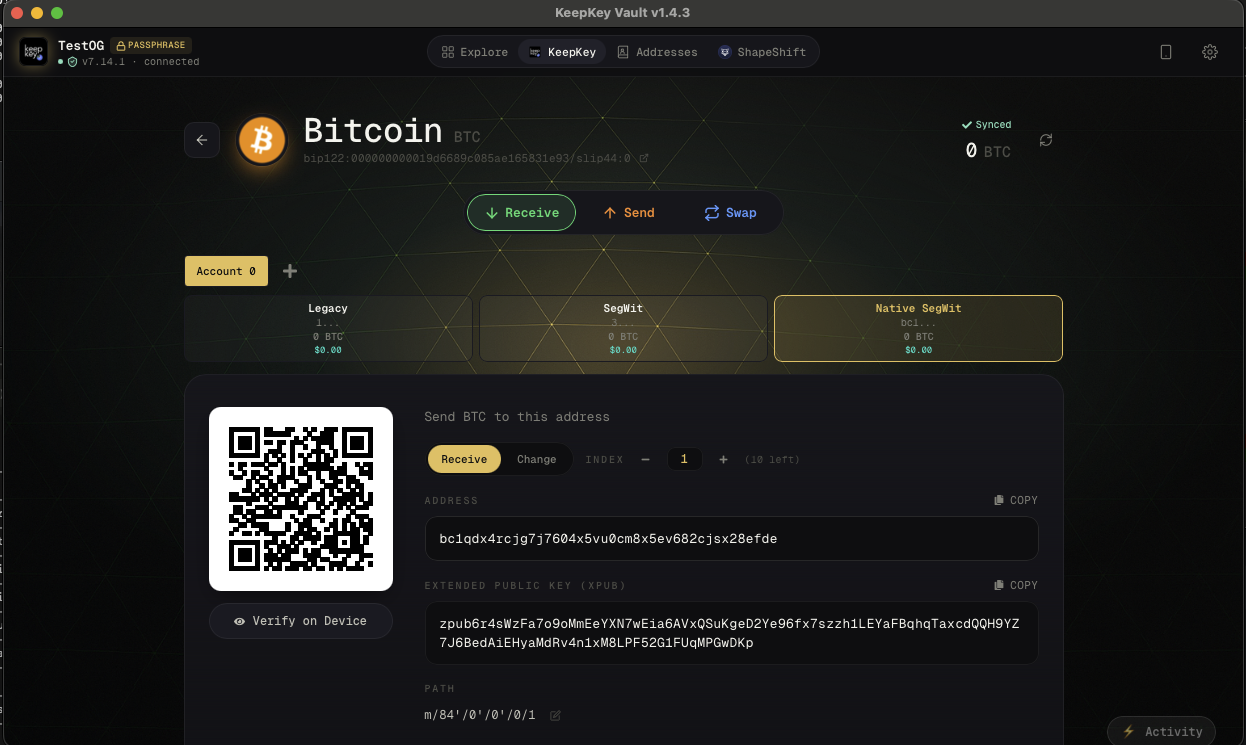
For Ethereum and EVM chains the receive panel works the same way:
Verify on the device
Always verify the address on the device screen before sharing it with anyone. Compare the device display with the destination you intended; the desktop display alone is not sufficient.
Check every character. Compare the address shown in the app to the address shown on the device, character by character, all the way through. Don’t just glance at the start and end.
Why the full address matters: GPU-accelerated address grinders like Profanity can generate “vanity” addresses that match a chosen prefix and suffix in minutes. Attackers use these to replace your clipboard or in-app address with a look-alike that starts and ends with the same characters you remember. Checking only the first and last 6 characters is the exact failure mode these attacks are built to exploit — a technique that drained ~$160M from the Wintermute treasury in 2022. Check the middle too.
If any character differs — even one — stop. Don’t use that address. This is the primary defense against malware that silently swaps the displayed address with an attacker’s.
QR codes
A QR code is displayed alongside the address for easy scanning. Someone can scan the QR code from their phone or another wallet to send you funds.
Send
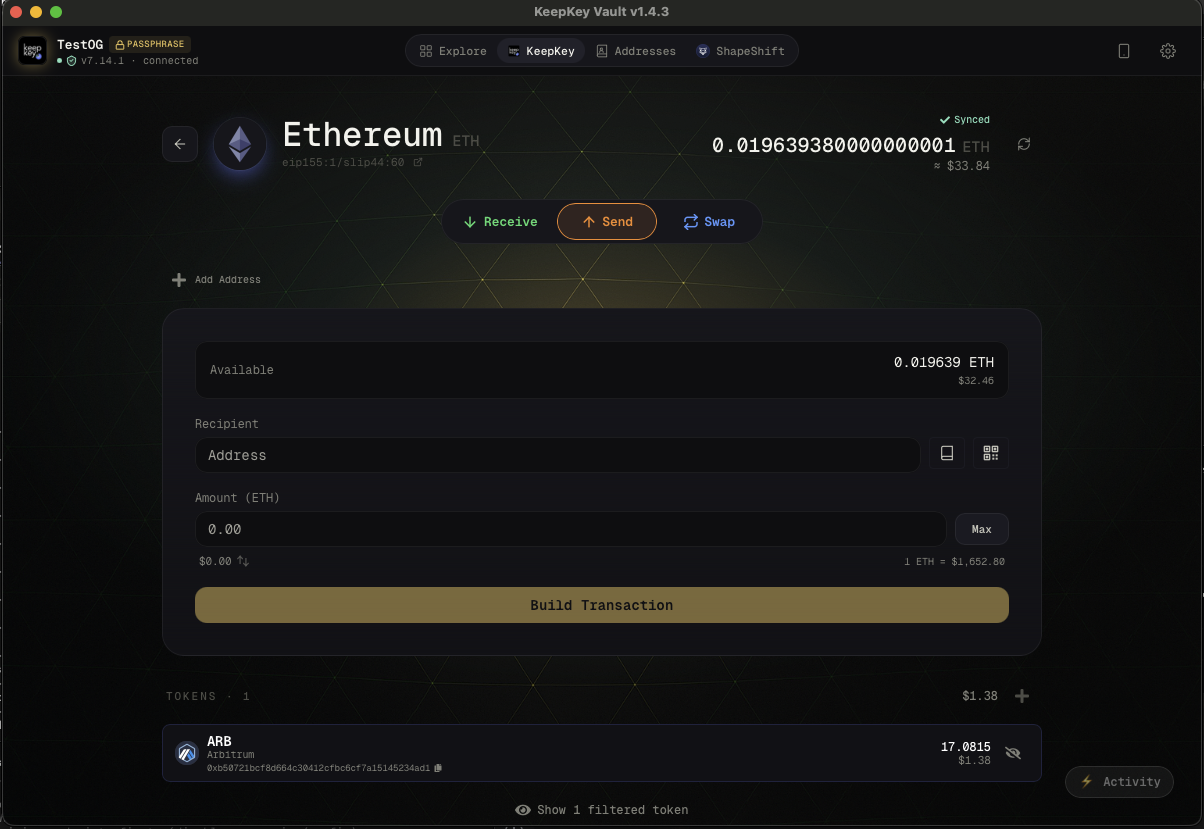
To send funds, click Send on any asset card. The send flow is four screens: input → review → on-device confirm → broadcast.
1. Enter the recipient and amount
The send form takes a recipient address, an amount (in fiat or native units), and a fee priority. For Bitcoin, you’ll also see your sub-accounts (Legacy, SegWit, Native SegWit) so you can pick which one to spend from — all of them come from the same recovery phrase, see Bitcoin Address Types.
When you paste a new address the desktop application has not seen before, it offers to save it to your Address Book with an optional label.
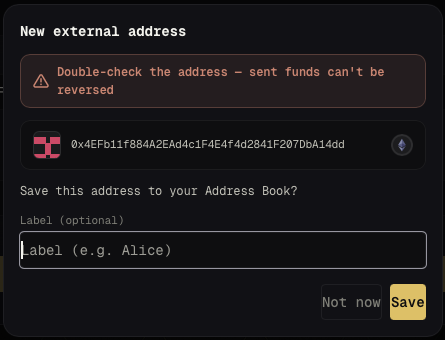
You can manage saved addresses in the Addresses tab. Labelling frequently-used addresses (exchanges, your own cold storage, counterparties) makes it easier to double-check the recipient before every send — when you paste a saved address, its label appears next to the recipient. Save new addresses the careful way, and never copy a recipient from your transaction history (why).
2. Review
After you click Build Transaction, the desktop application constructs the transaction and shows a review screen with the destination, amount, and network fee.
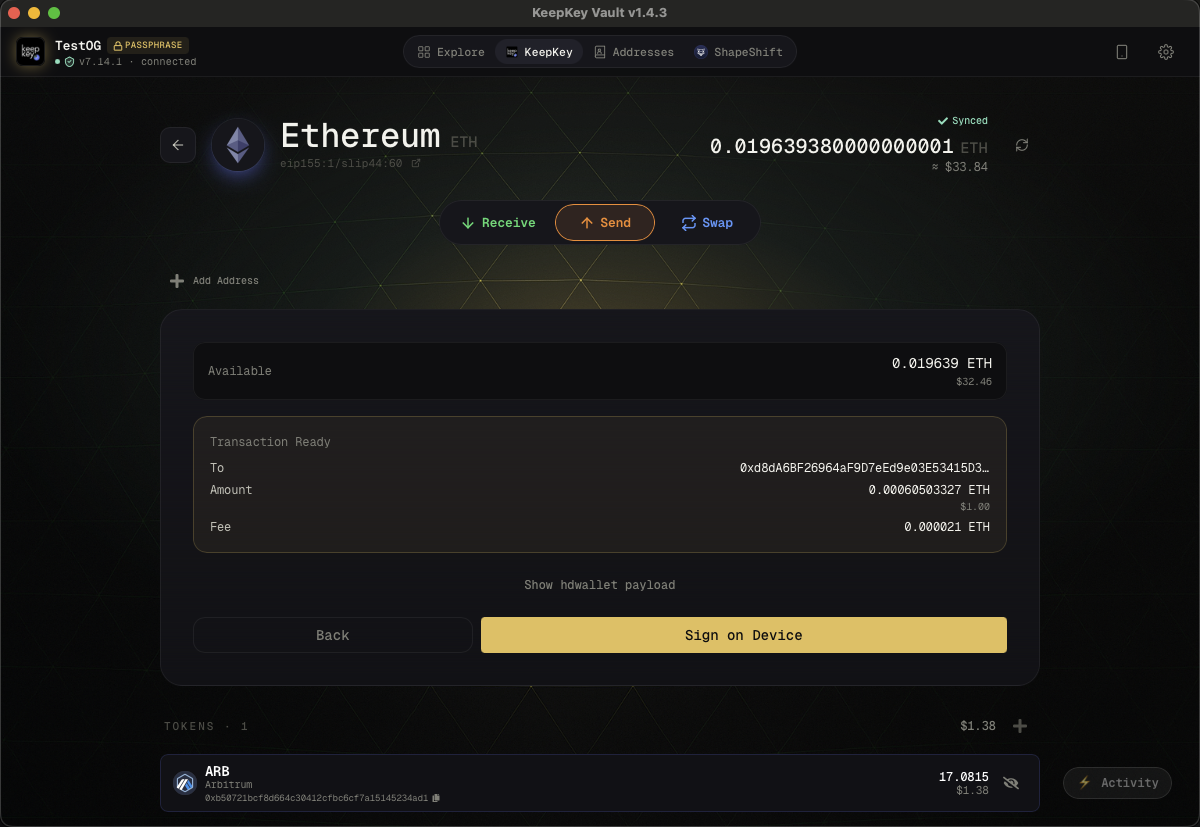
If you want to inspect what’s actually being signed, the review pane can expand to show the raw transaction payload (inputs, outputs, hex). This is useful for debugging or learning, but for normal use the summary is enough.
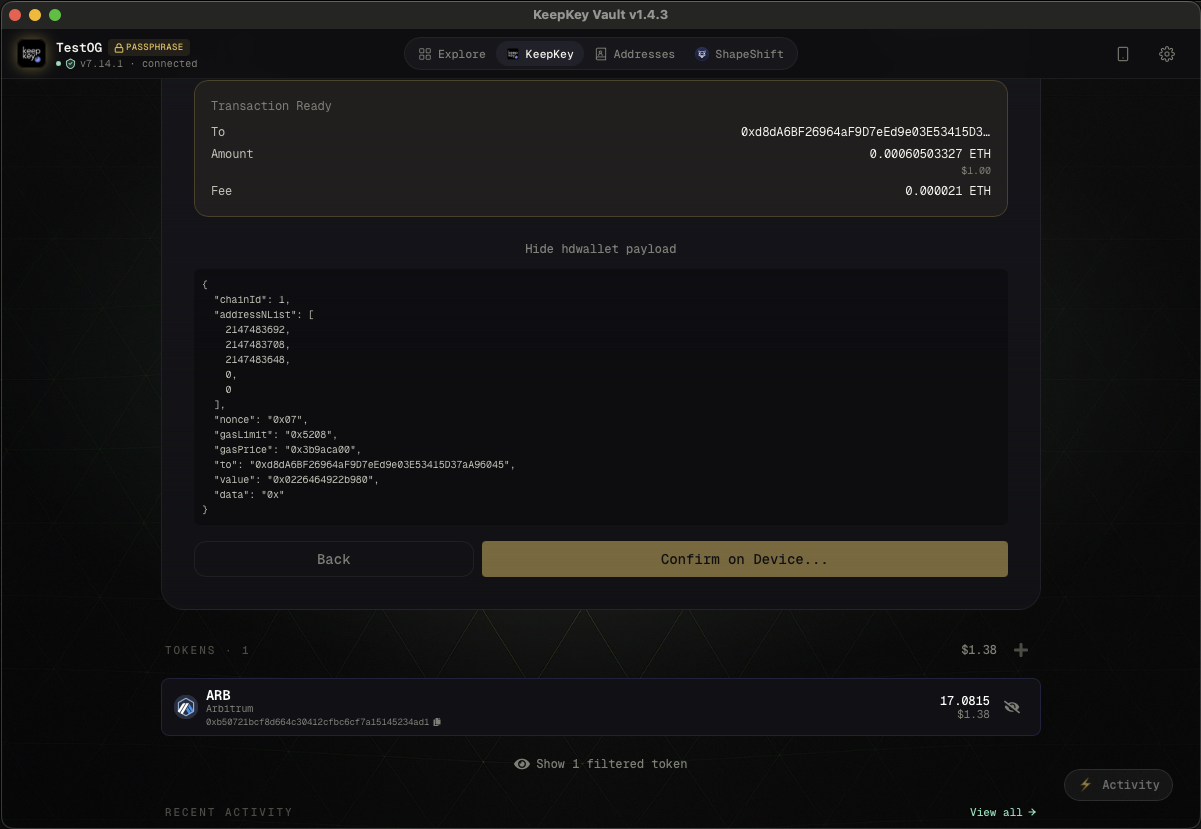
3. Confirm on the device
The desktop application then asks the device to sign. The device displays the recipient address and amount on its own screen.
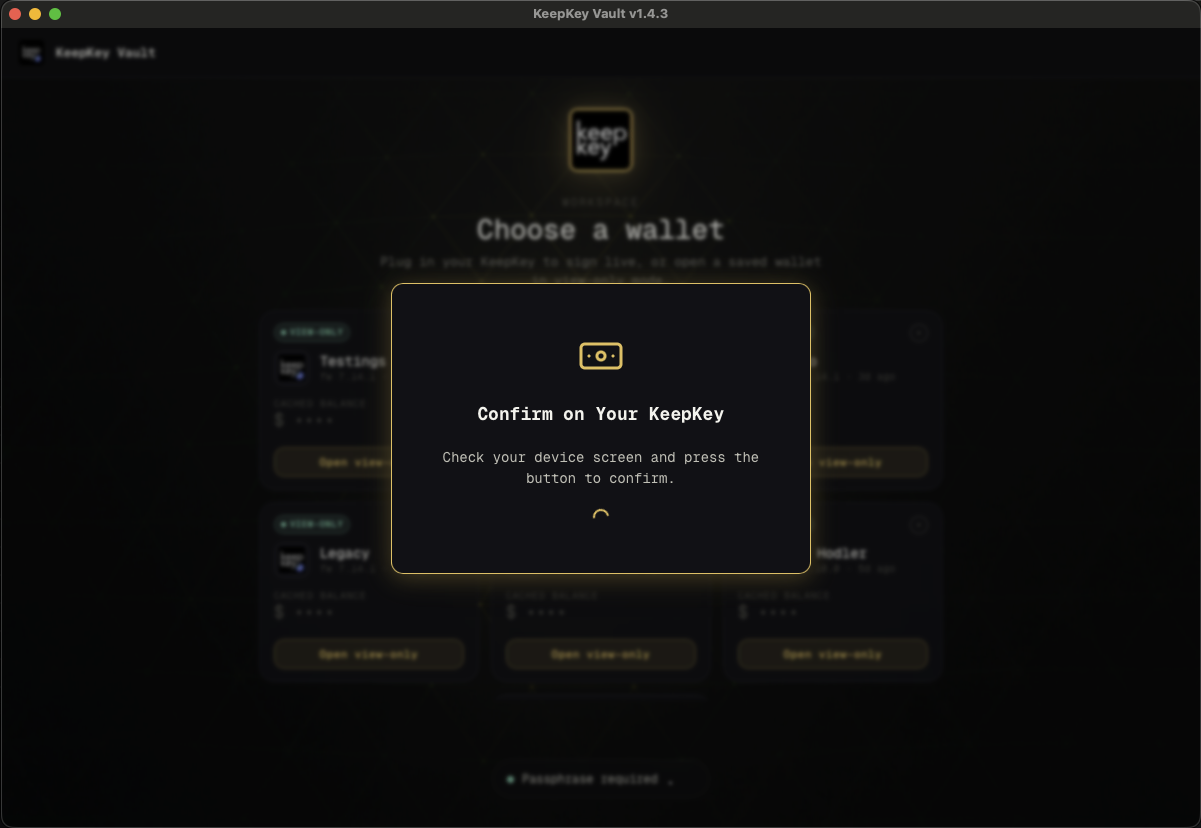
This is the moment that matters. Read the address on the device, character by character. Confirm the amount and fee match what you reviewed. If anything looks wrong — even one character off — reject on the device. Nothing has been broadcast yet.
See Verifying Transactions for the full reasoning, including how vanity-address grinders defeat partial-character checks.
4. Broadcast
Once you approve on the device, the signed transaction is returned to the desktop application. You’ll see a final prompt with the signed payload and a Broadcast Transaction button.
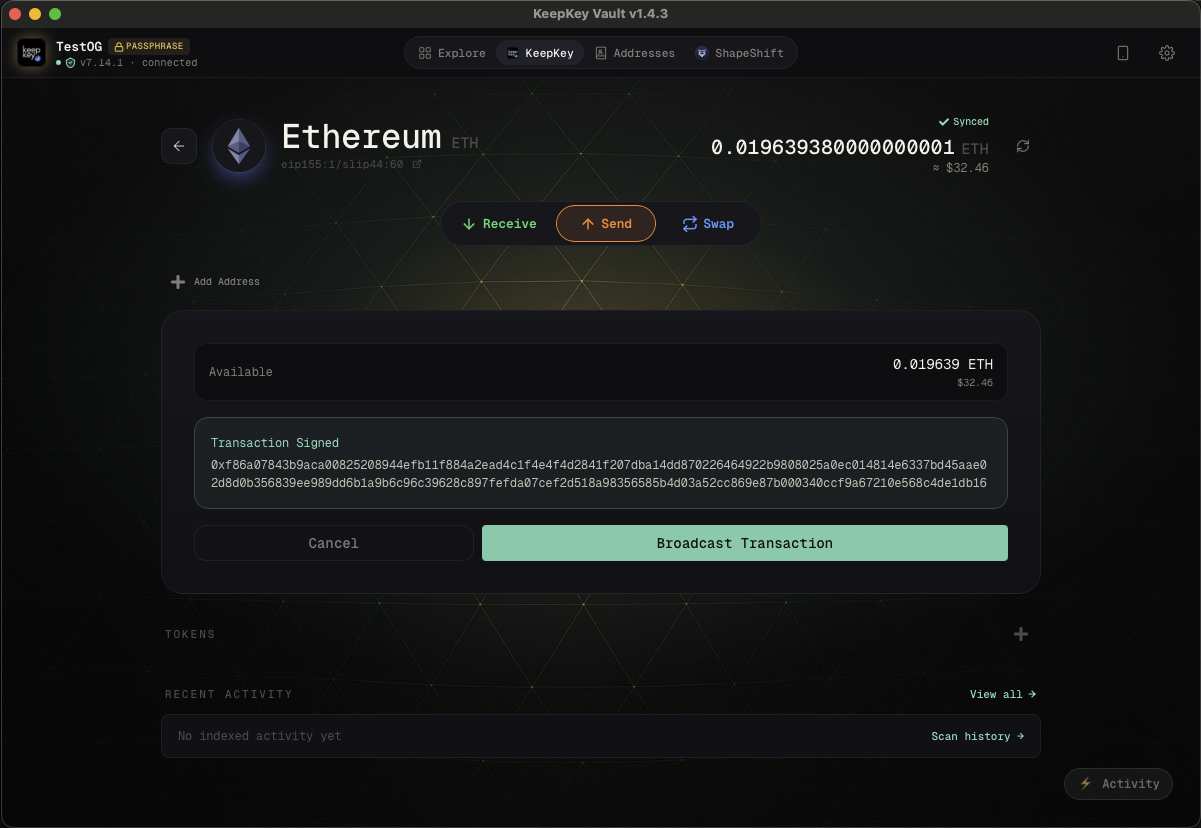
Click Broadcast Transaction to push the transaction to the network. (You can still cancel here if something feels wrong — the transaction is signed, but until it’s broadcast, the network doesn’t know it exists.)
5. Submitted
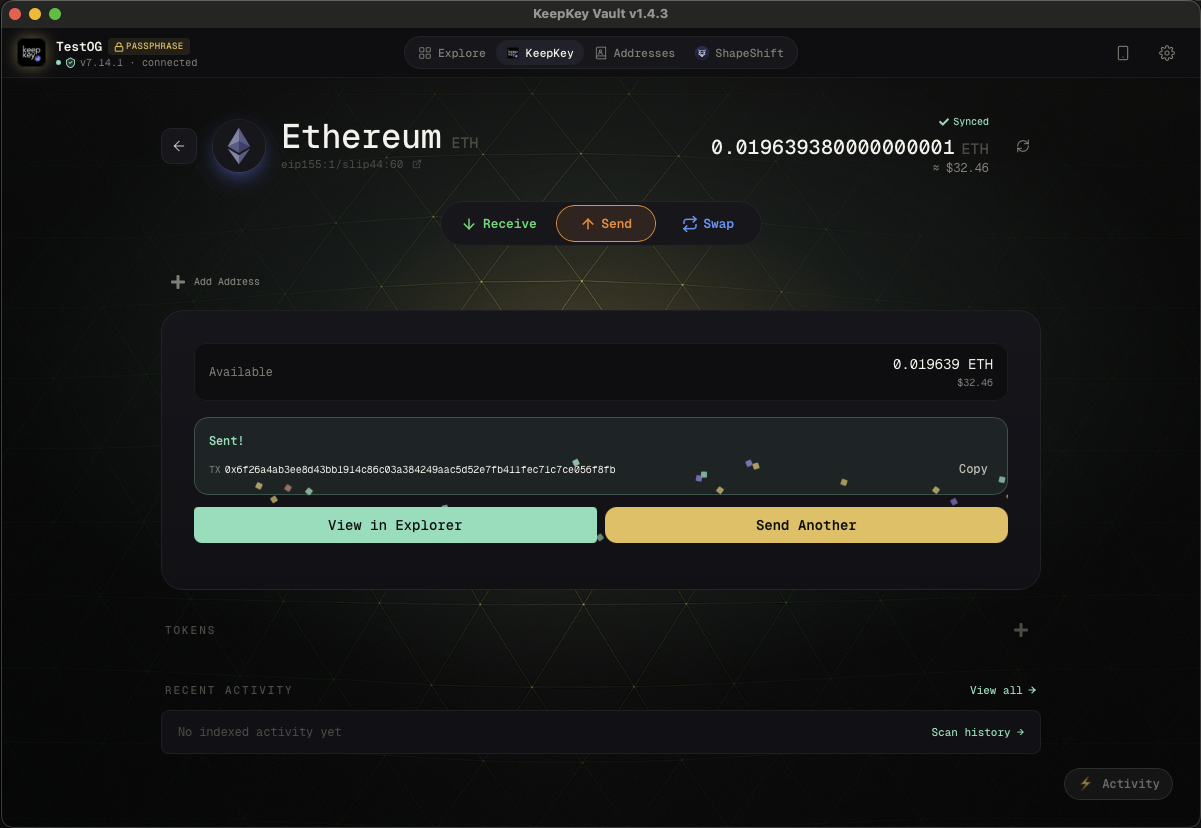
After broadcast, the desktop application shows the transaction ID and a link to the block explorer. The transaction will appear in your asset’s history with a pending status until it confirms.
Fee selection
For networks with variable fees (Bitcoin, Ethereum), the desktop application offers a few presets:
- Slow — cheapest, may take longer to confirm
- Normal — balanced speed/cost, usually fine
- Fast — higher fee, faster confirmation
Real-world walkthroughs
- Get paid by friends & family
- Move coins off an exchange
- Send to an exchange — memos and destination tags
Related
- Portfolio — where you start a send or receive
- Verifying Transactions — why on-device verification matters